> ## Documentation Index
> Fetch the complete documentation index at: https://docs.gladecore.com/llms.txt
> Use this file to discover all available pages before exploring further.
# Quickstart
> Start testing the pre-built NPCs and AI functionality immediately!
After installing the plugin into your existing or new project, navigate to your **Plugins → GladeCore Content → Demo** folder and open the `DemoLevel` map to start testing immediately!
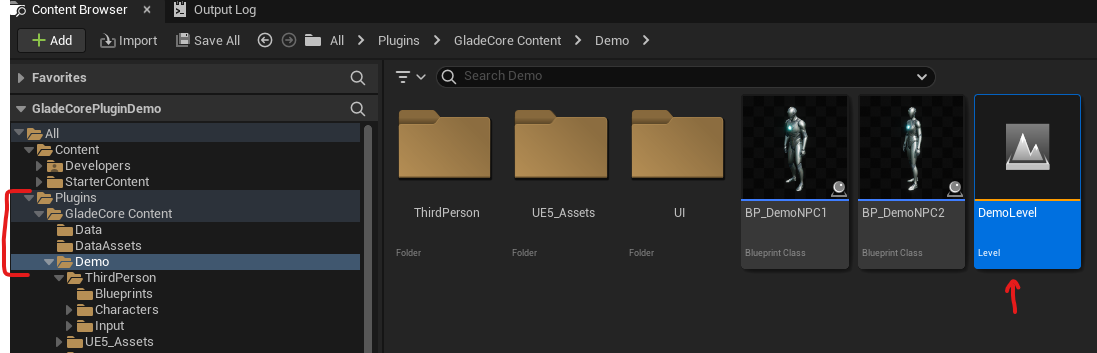 > *Note: if you don’t see the Plugins folder, make sure that “Plugin Content” is checked in your Content Browser settings.*
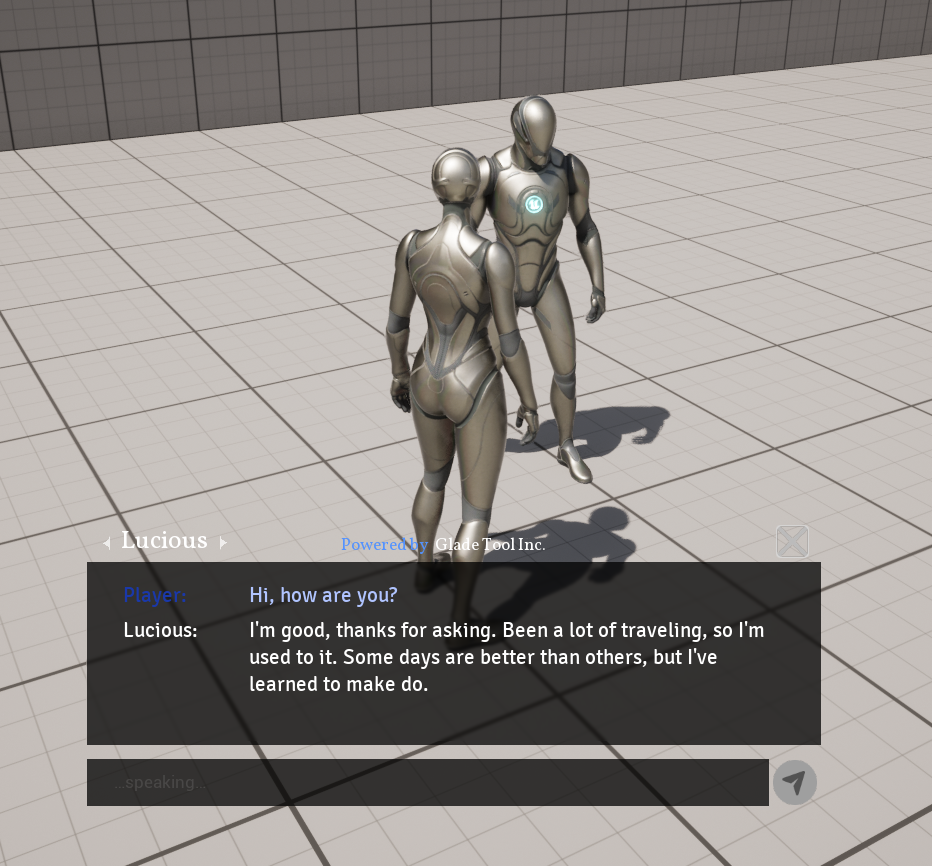
In our DemoLevel, walk up to a NPC then press E to open up the chat window. From there, you can press Enter to type to chat with an NPC or press V to directly use your microphone to talk to an NPC.
> *Note: if you don’t see the Plugins folder, make sure that “Plugin Content” is checked in your Content Browser settings.*
In our DemoLevel, walk up to a NPC then press E to open up the chat window. From there, you can press Enter to type to chat with an NPC or press V to directly use your microphone to talk to an NPC.
 In the next few sections, we will show you how to customize the voices and much more for your own project.