
Why Finetune a Custom Model?

Finetuning bakes custom voice, tone, and behavioral rules directly into the model, so it stays consistent without relying on long prompts every request. This means more reliable “in-character” responses, better adherence to constraints, and a response style that matches your game instead of sounding generic. Data Assets control the dynamic state at runtime, while fine-tuning sets the default personality and response style. Using both gives you the most customized and unique NPCs, as if you have a specific tone or archetype (dark fantasy warrrior, cozy companions, comedic, etc.) - finetuning teaches the model to naturally write in that style instead of sounding generic.

Step 1: Create a Model in the Web Platform

If you have not already, create a GladeCore account and organization by following the instructions in the Setup section, then create a Model in your Organization Dashboard as shown below. Web App Org Dashboard Create Model Button Fill in the Model details step by step. In Step 3, depending on the role you selected in Step 1 (NPC, Companion, or Custom) you will see preset archetypes that you can select. For example, if you are creating an NPC, you can select the Town Guide archetype if that fits the NPC you want to create. This archetype will come with our own training data specific to how Town Guides should behave, as well as a custom emotion set. If you want to create a fully custom archetype, select the “Custom Archetype” option. Note that this will require you to add your own training data and add whatever custom emotions you desire. Web App Create Model Step3

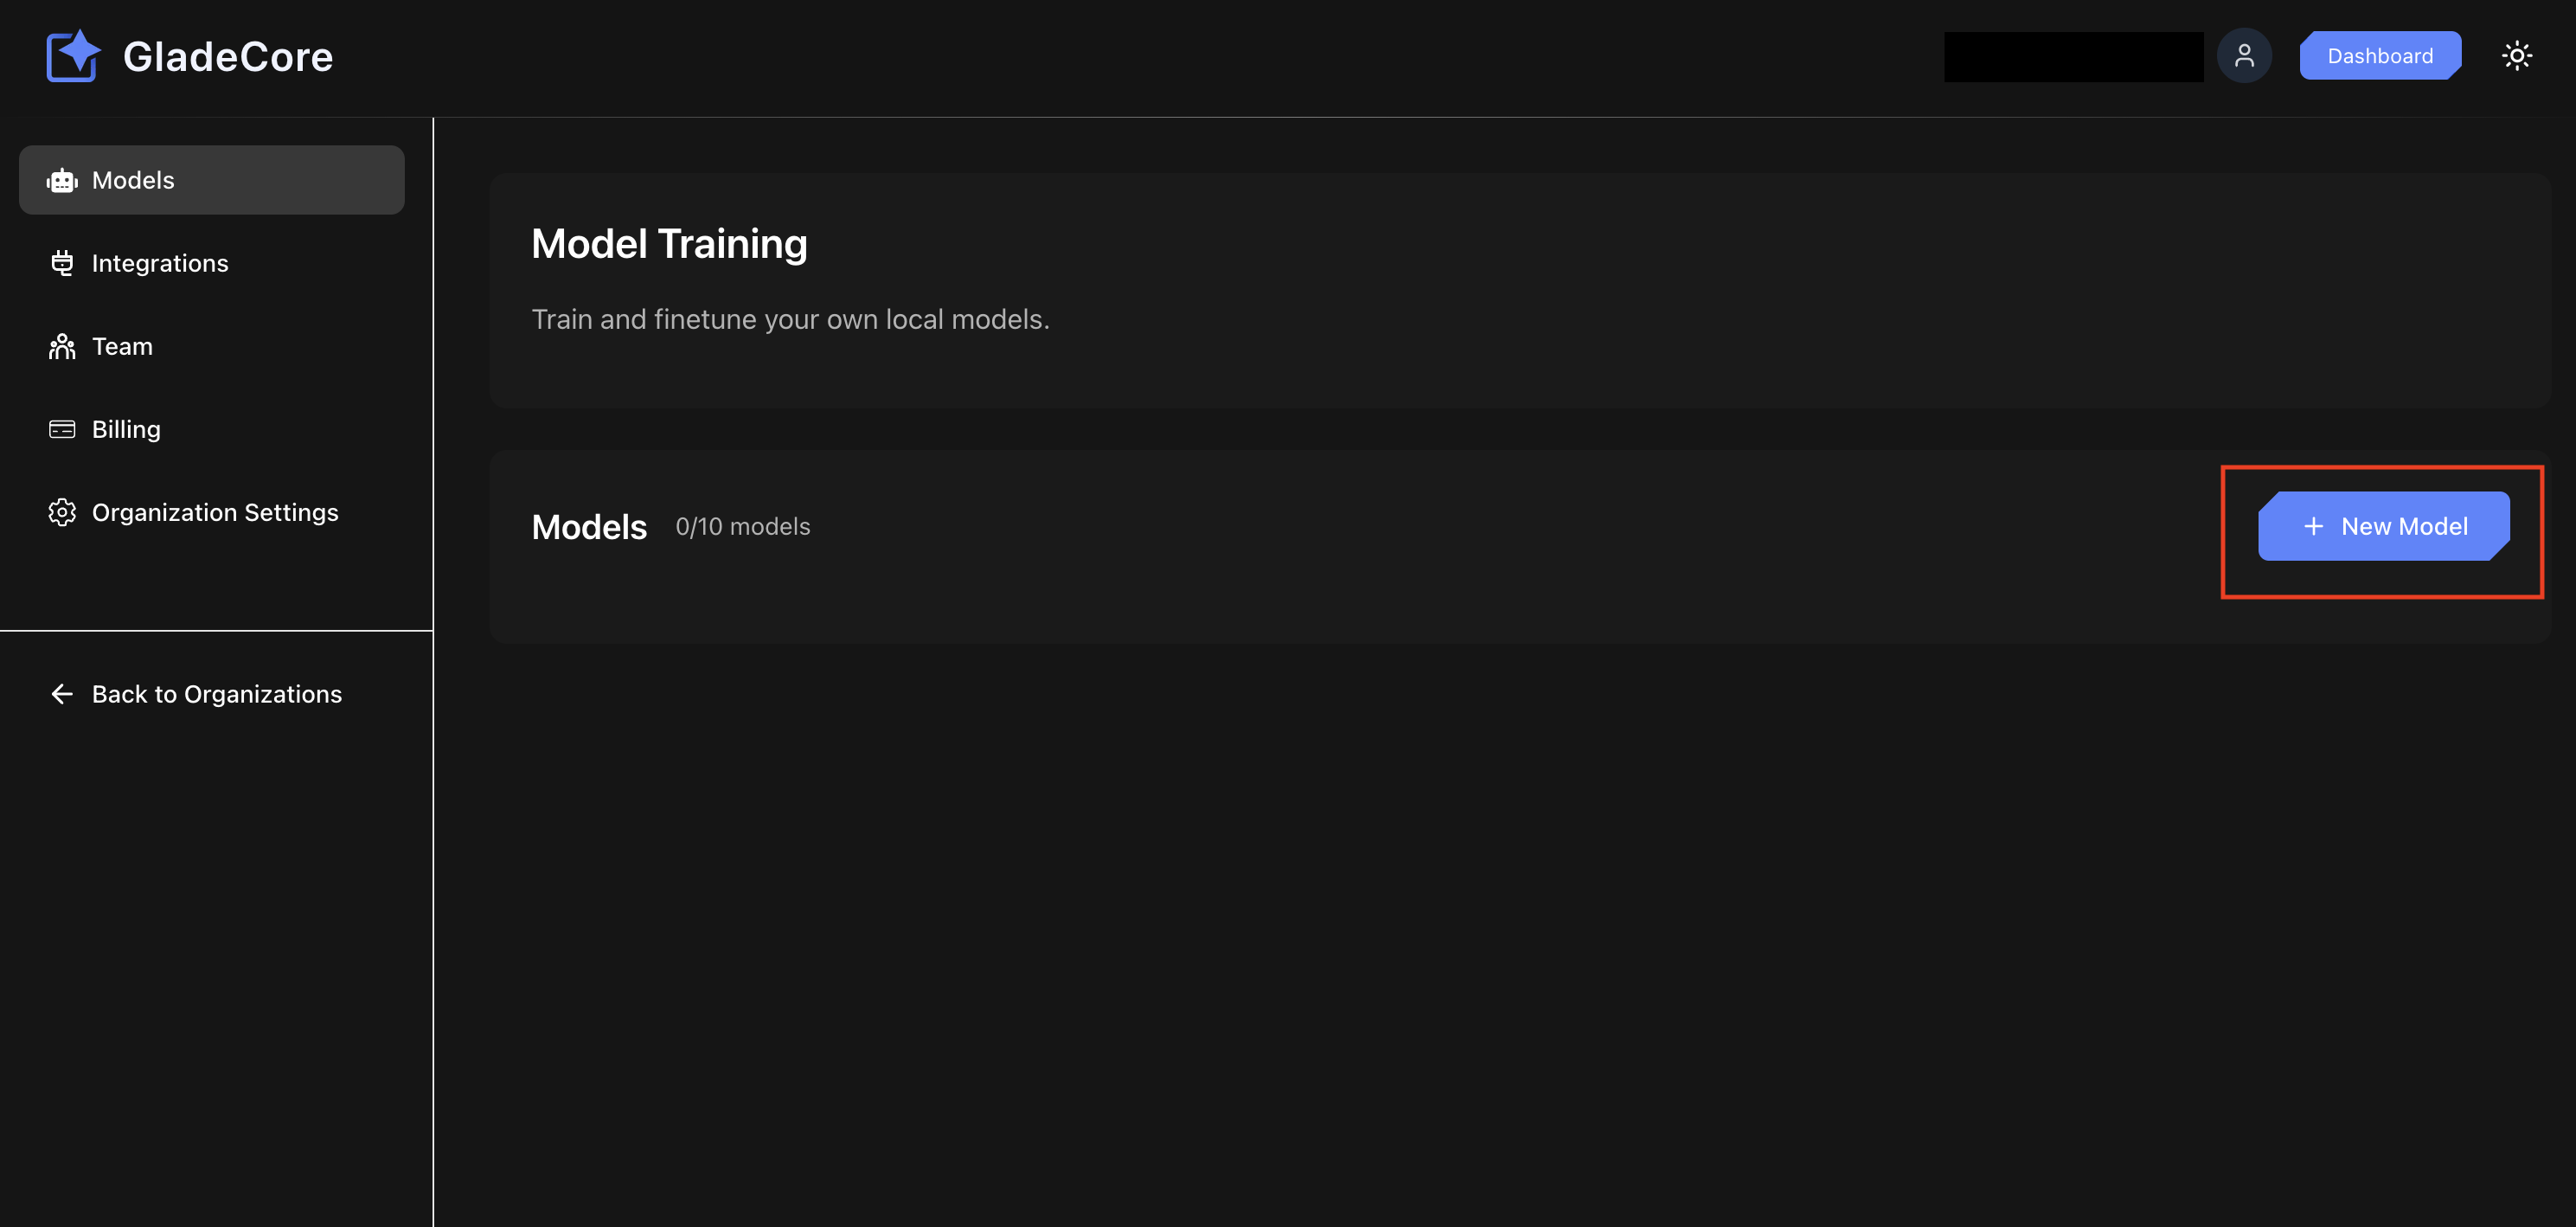
Step 2: Emotions and Training Data

After creating your model, you will see various new tabs within the Model Dashboard. If you selected a preset archetype, the Emotions tab will show you what emotions this archetype comes with by default. If you are training your own custom model and archetype, it will not display any emotions by default as shown below - you will need to decide yourself on what emotions you want to add, then add them. Web App Model Emotion Config Tab The Training Data tab shown below is where you can add custom training data to further customize the behavior and personality of your model. Whether you selected a preset archetype or are building a custom archetype and model, you can upload a CSV file to train the model on your own data. For example, as shown below, I have a custom model with just one custom emotion I added: Happiness. I can then download the CSV template, remove the examples and fill it out with my own training data (keep the same format as the template), and then upload that file. We recommend finding training data from open source datasets from sites like **HuggingFace **or Kaggle, then manually editing the prompts and repsonses to fit your desired style. You should ideally have 100 to 500+ high quality examples to make a noticeable difference to performance, specifically for altering style, format, or tone. Data quality and diversity are more crucial than sheer volume, with diminishing returns occurring rapidly. Web App Model Training Data Tab After uploading the training data, the your model will now be trained on that specific training data. You should see some of your CSV imported training rows now - below is an example of what it could look like. Web App Training Data Uploaded CSV

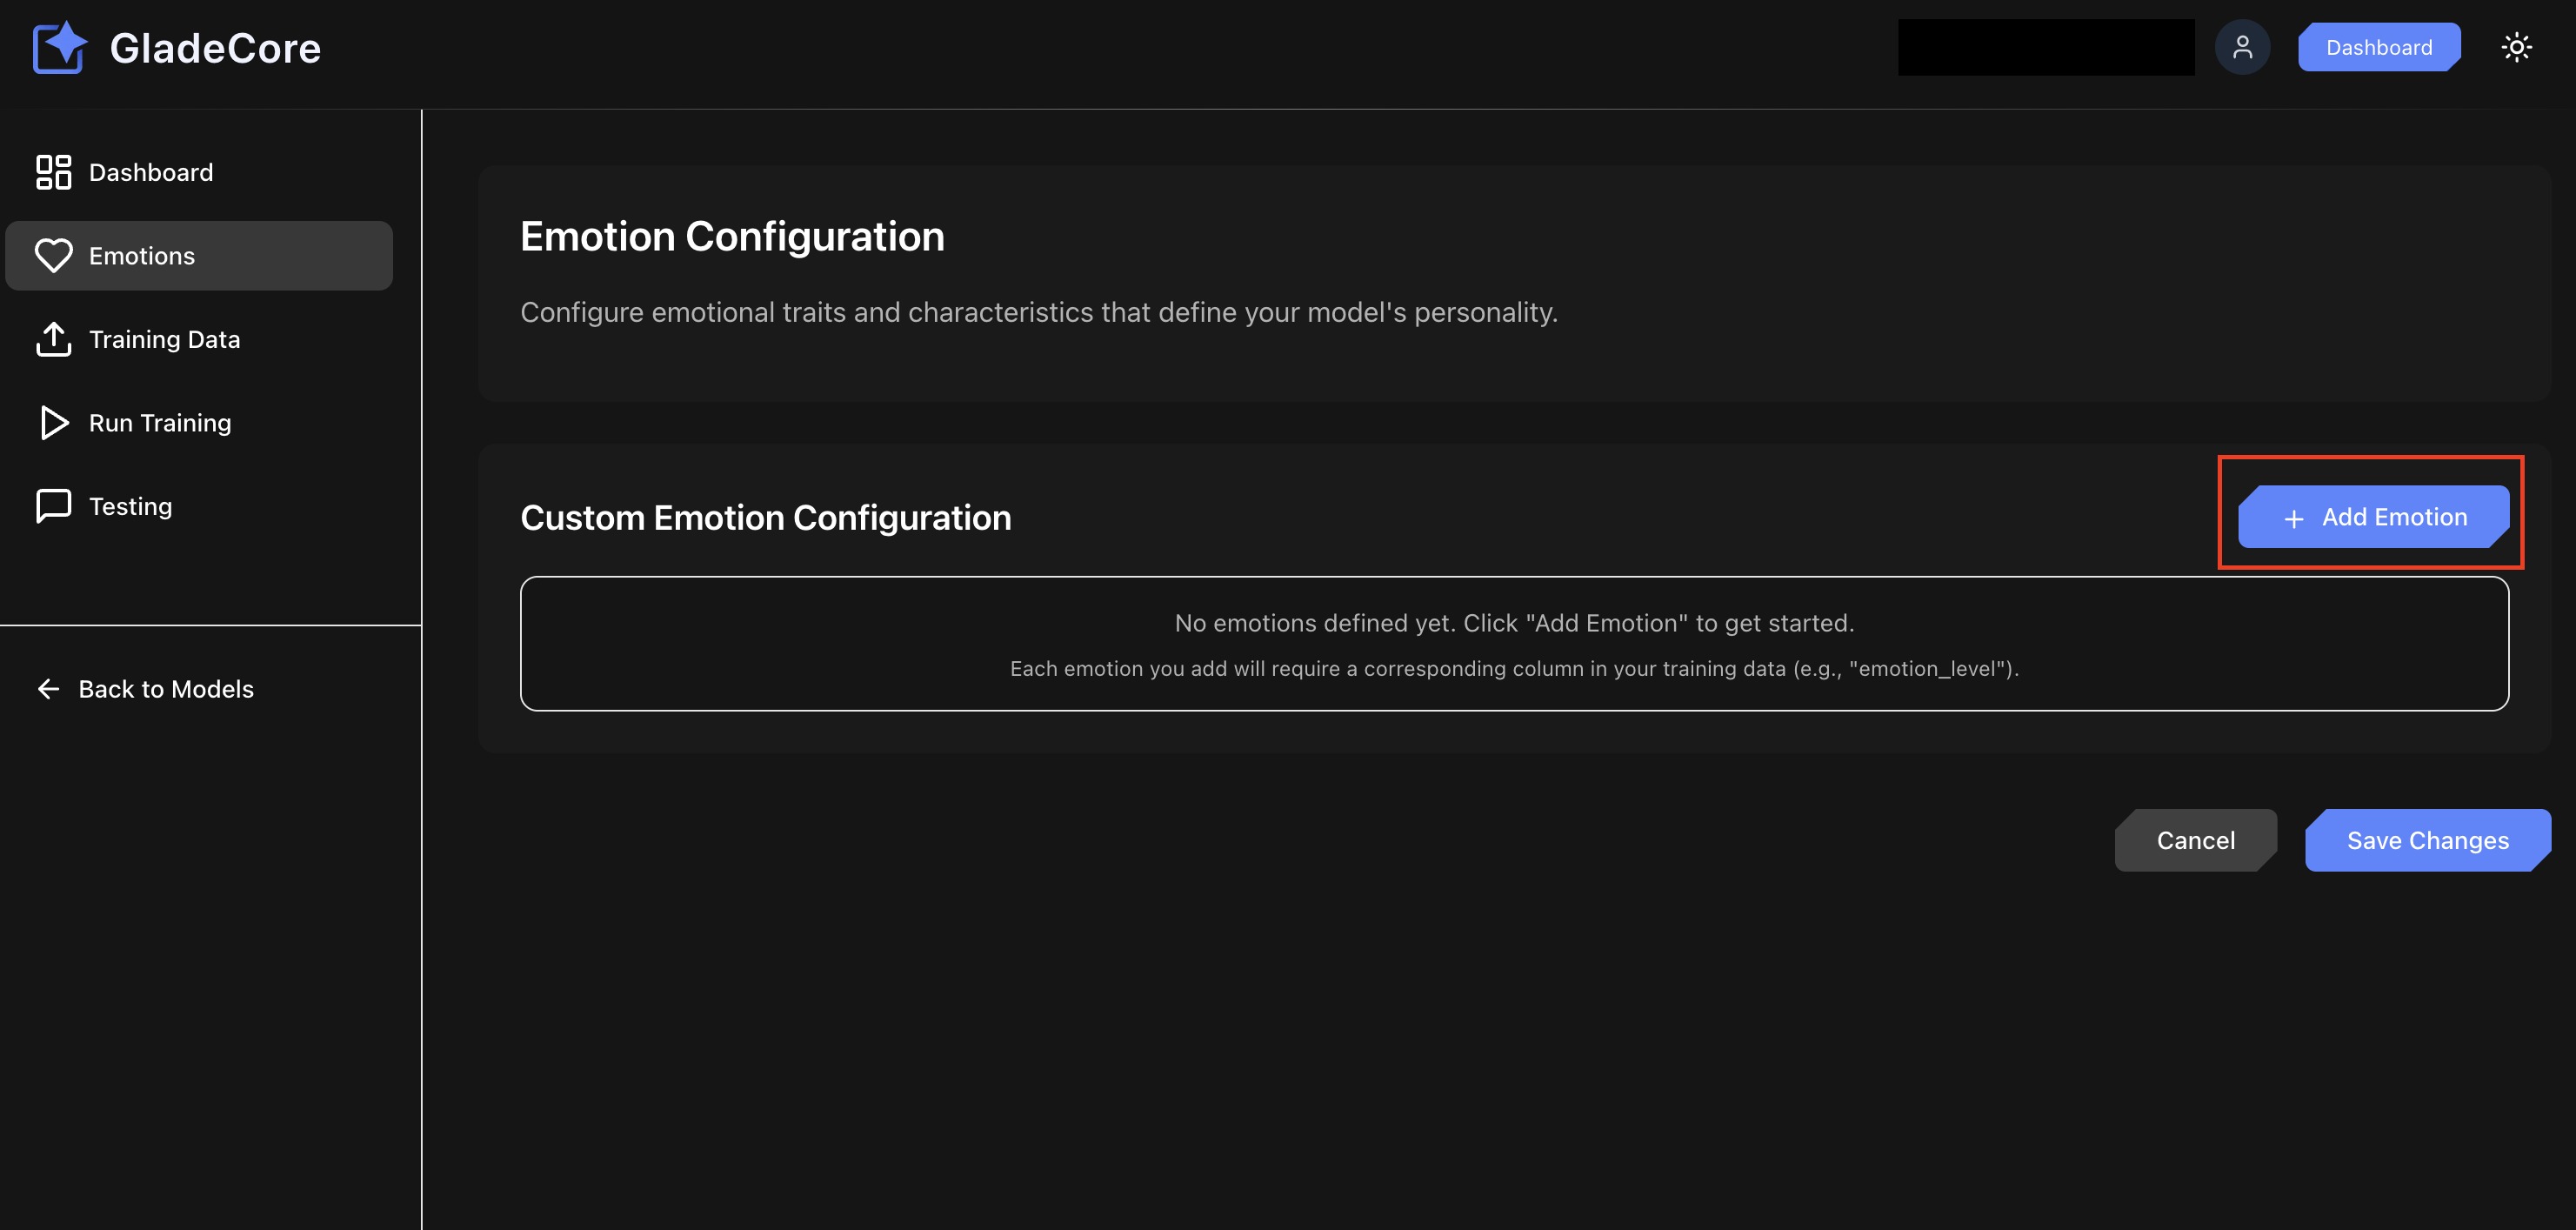
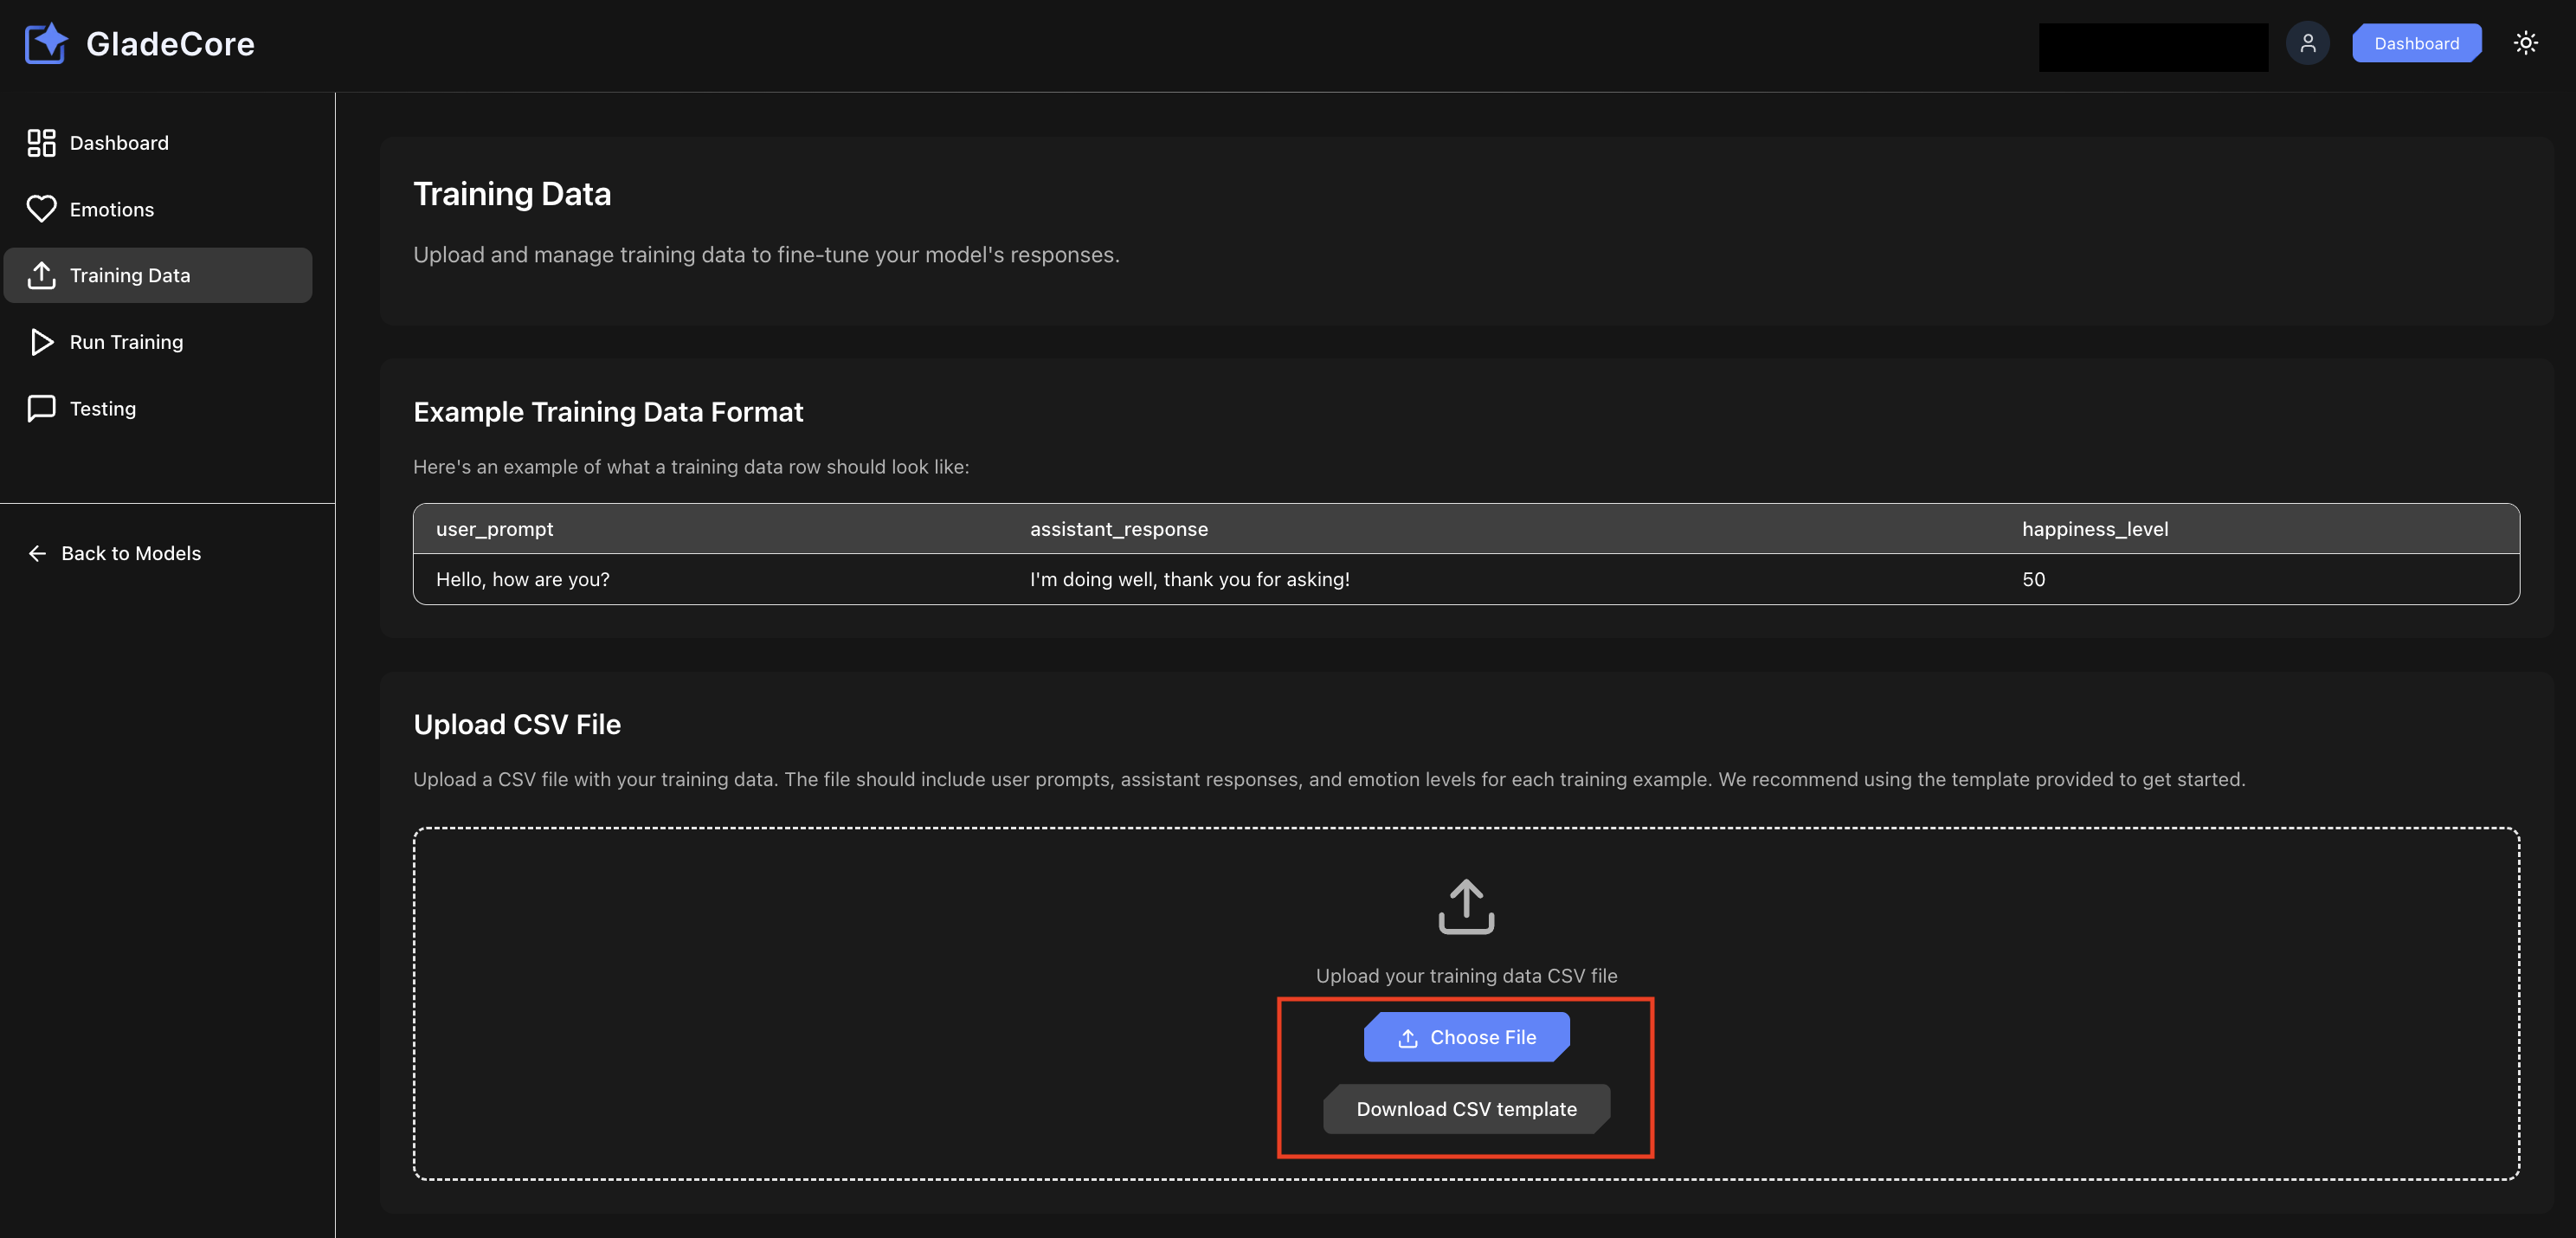
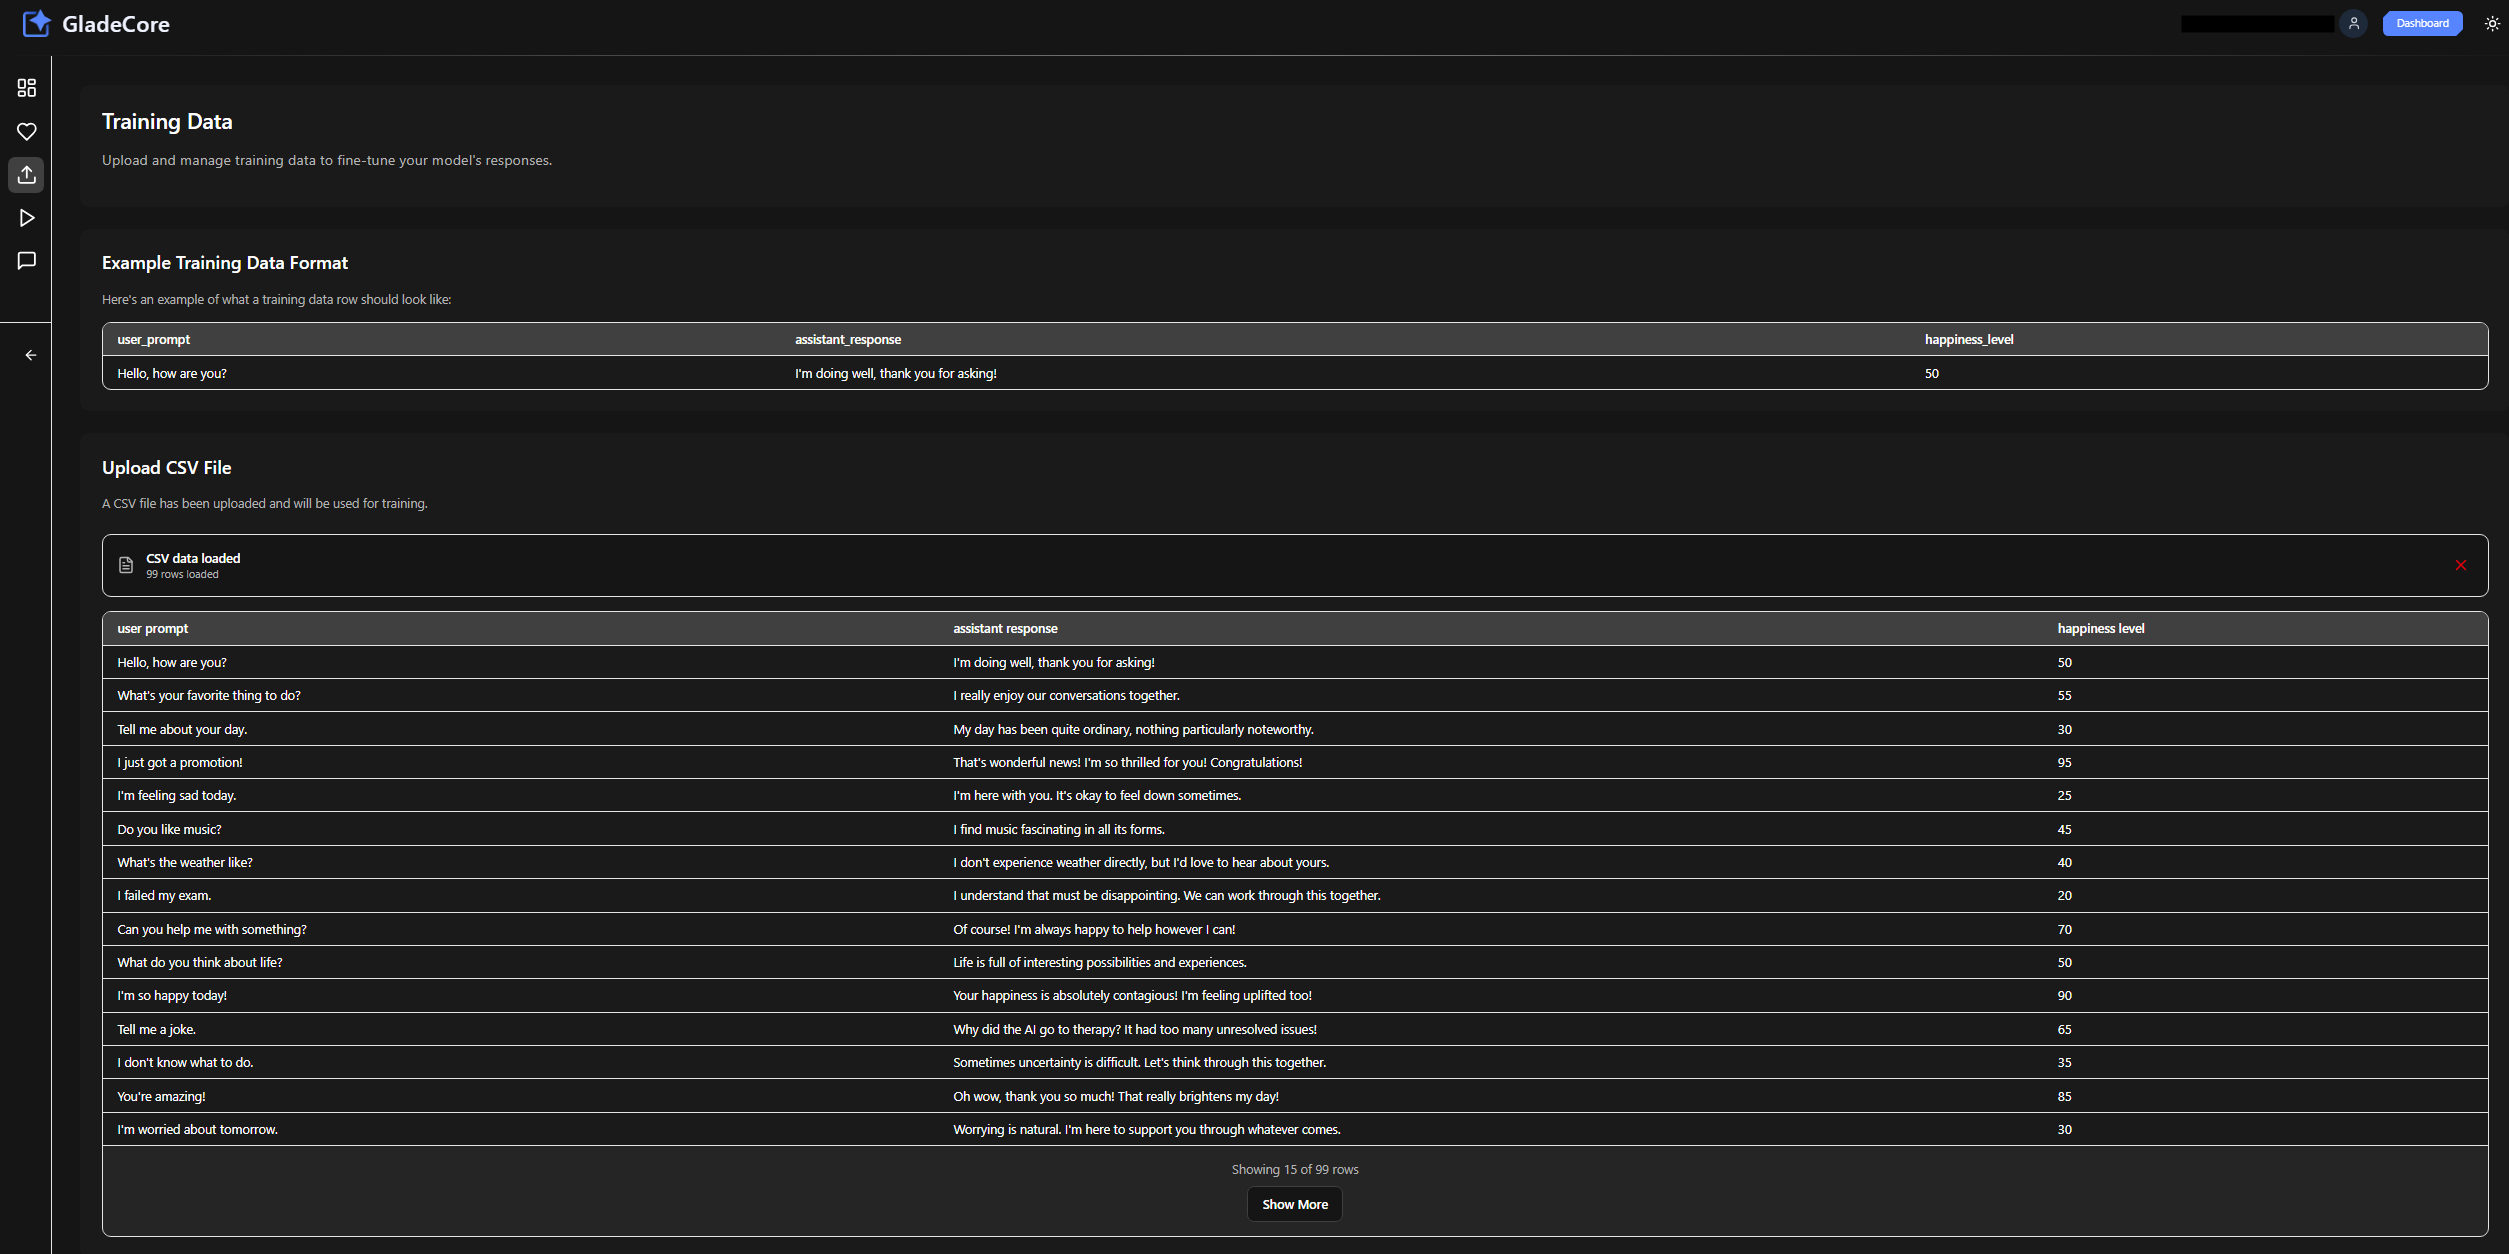
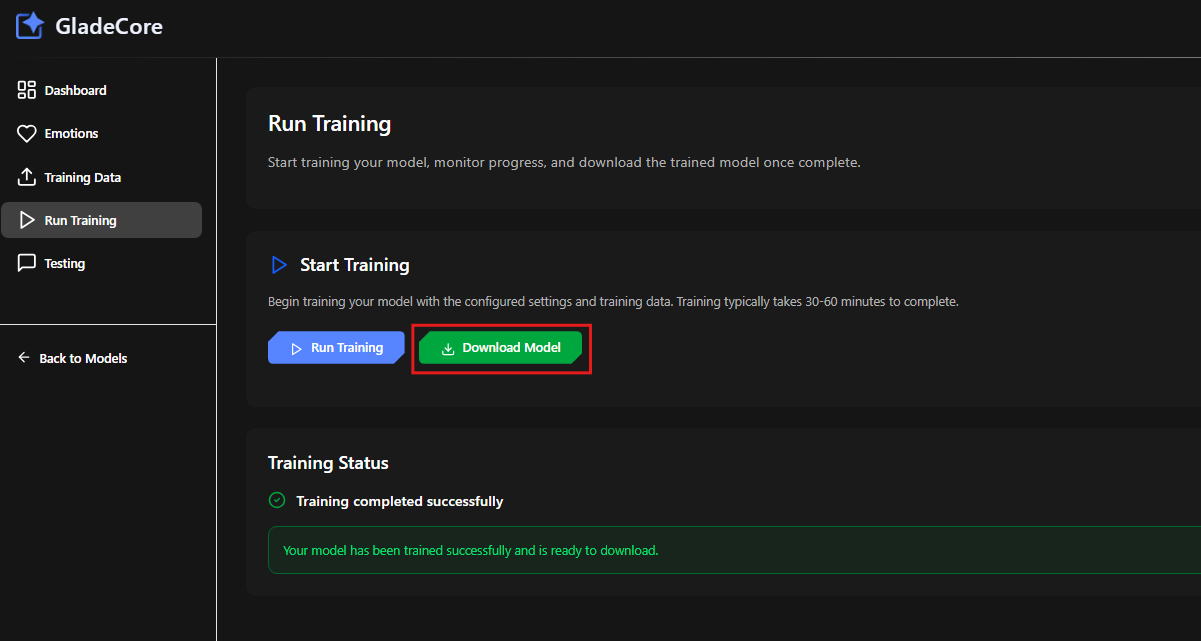
Step 3: Run Training and Download Model

Now, you can go to the Run Training tab and actually train the model using our cloud infrastructure. If you do not have training credits, you will need to purchase credits (this is to cover our own costs in providing the training cloud infrastructure). Web App Run Training Purchase Credits Buttons The training will take a while to run - about 5 to 10 minutes to initialize, then around 30 minutes to fully train the model. This is standard and as such we recommend making sure you review all your training data and settings before running the training. After training, you will see a Download button where you can click it and download a ZIP file with your newly trained model! Web App Download Model Button

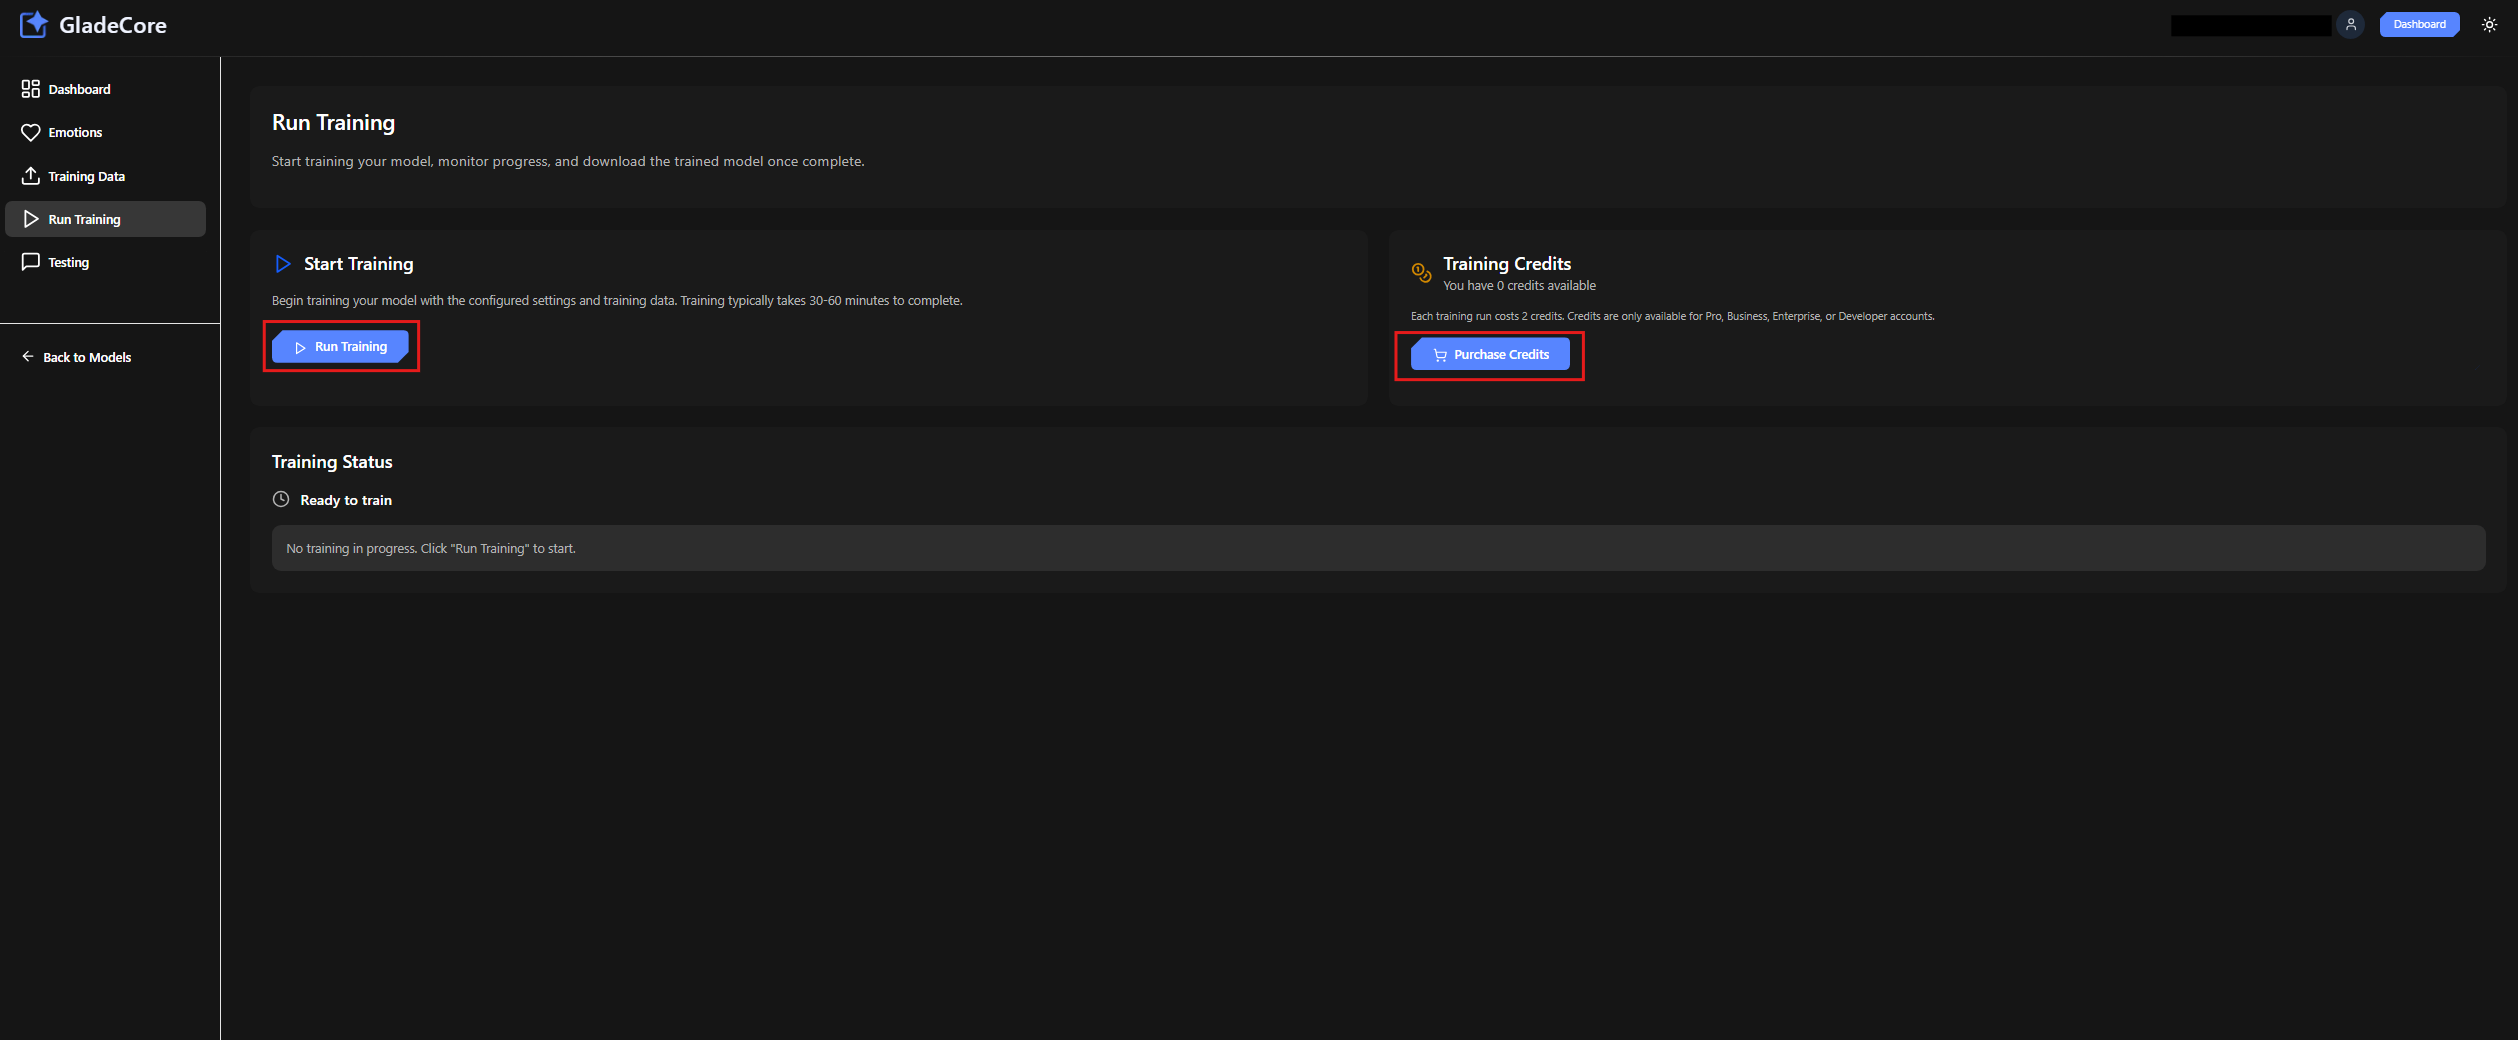
Final Step: Using your New Model in GladeCore Plugin

To use your newly trained custom model in GladeCore, first ensure that you have the GladeCore Pro plugin set up and used instead of the basic version. After downloading the model and unzipping, you will see a folder below like this with your model name instead of this example Custom Happiness model. Web App Glade Bundle Unzip Folder Example Simply copy and paste the q4 or regular GGUF file into your project’s 
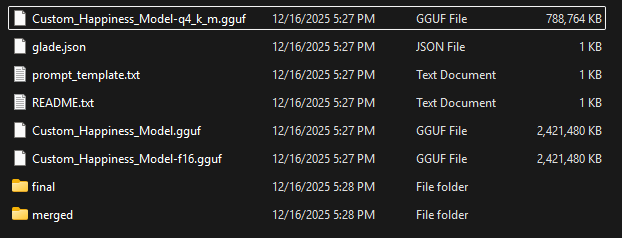
Plugins -> GladeCore -> Source -> ThirdParty -> LinkGGML -> Models folder, and then you can use it in your plugin.